How to Build a Bowling Lane in Your Basement [Installation, and Maintaining]
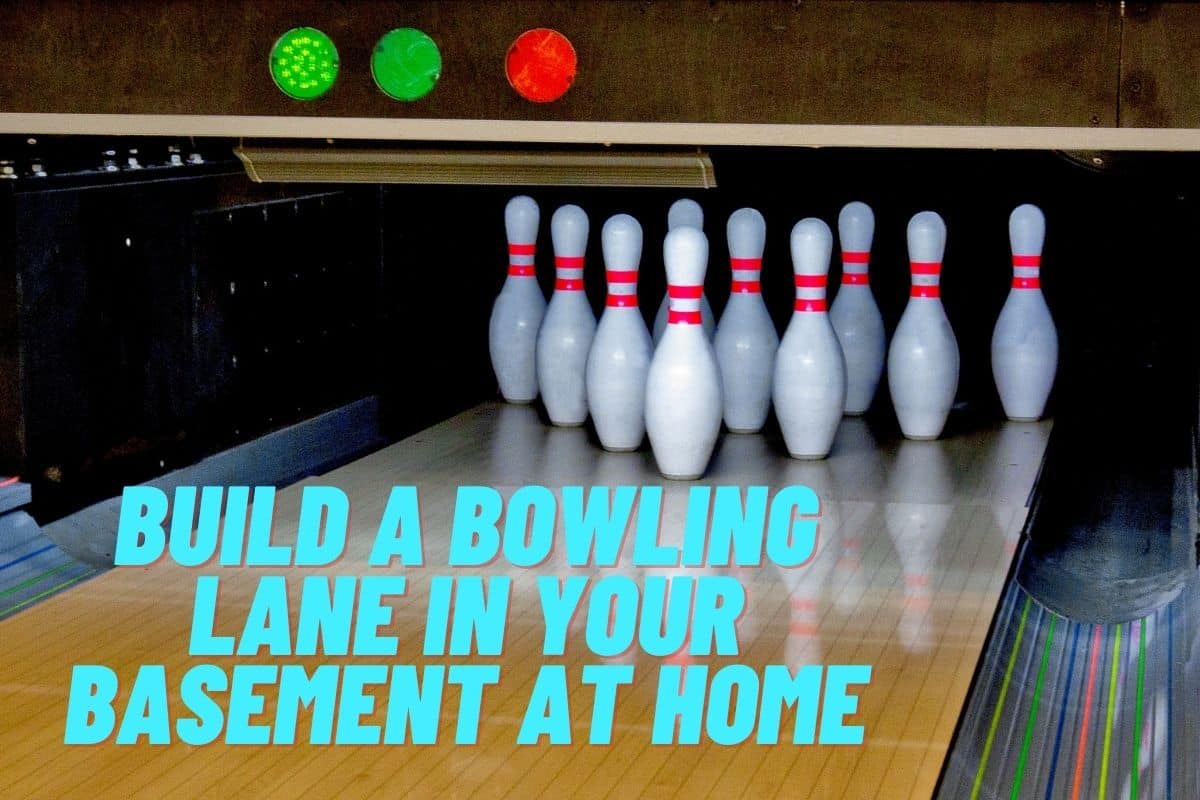
Do you dream of having your own private bowling alley at home? Learn how to build a bowling lane in your basement in a few simple steps!
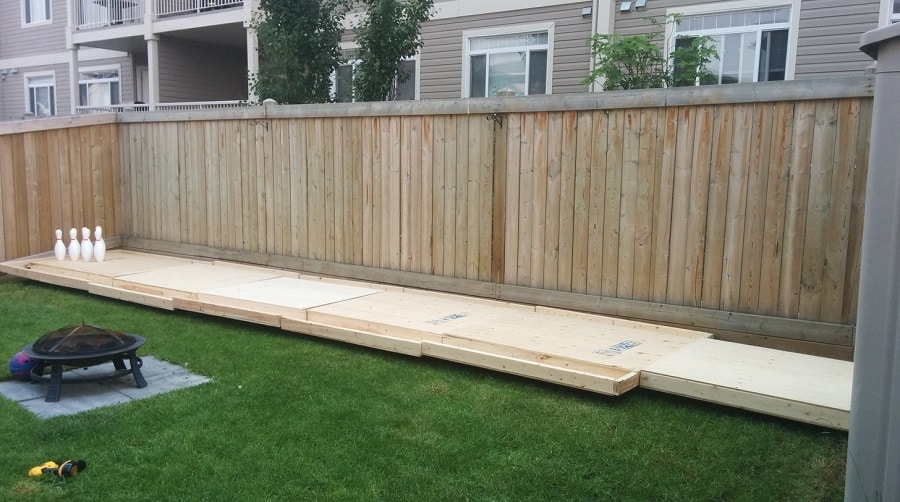
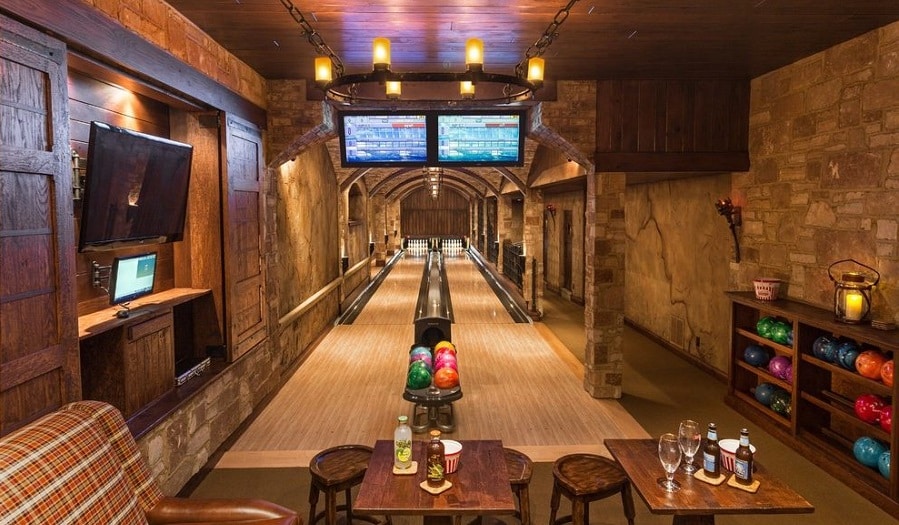
Do you miss the thrill of a friendly game of bowling? Have you ever wished that you could bring the fun of bowling right into your home? Now you can with the help of this article which will guide you step-by-step on how to build a bowling lane in your basement. Building a bowling lane in the basement of your home does not have to be a complicated process. You don't even have to be a professional to do it.
All you need is determination, the right materials, and a little bit of time. In this article, you will learn about all the materials needed to build a bowling lane in your basement, from the wood for the lane to the paint for the lines and everything in between. So, if you’re willing to put in the effort, read on to learn more about how to build a bowling lane in your basement.
Factors to consider before building a bowling lane

When it comes to building a bowling lane, you need to consider certain things. Some of these include:
1. Space
The most important factor is the available space; the area should be large enough to accommodate a full-sized bowling lane. The ceiling must also be tall enough to fit the lane, including the pinsetter and ball return. It is also essential to ensure the space is level and properly supported before beginning any construction.
2. Relevant skills and expertise
Once you have the space checked, next you need to have the right set of skills and expertise. Else, all your effort might be in vain. Luckily, you don’t have to do it on your own if you aren’t adequately skilled. Hire someone who is skilled enough, to get the job done.
3. The right tools and equipment
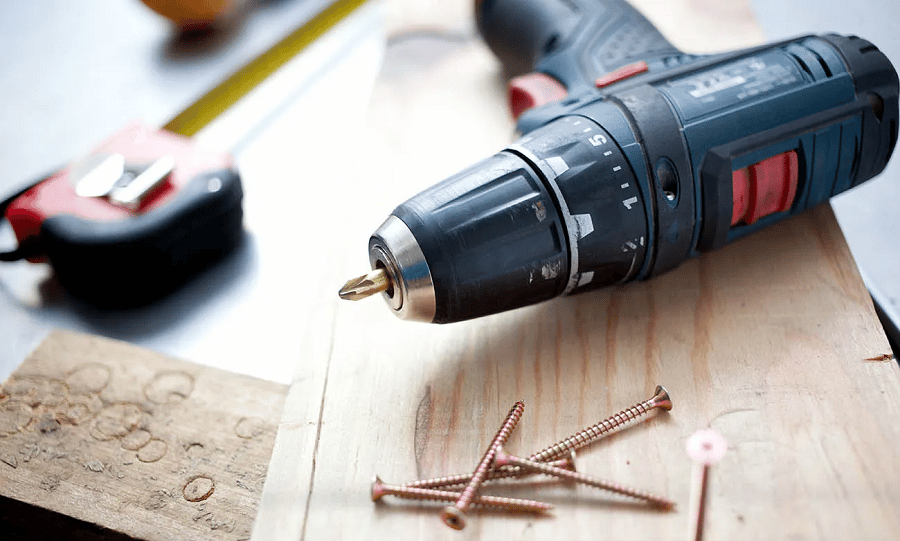
You need to have the right tools and equipment for the job. Designing and constructing your own bowling lane might sound easy, but without the right tools, you can be sure it will be a nightmare.
Then process of Building a bowling lane at your basement

There are several steps involved in building a bowling lane, especially if you want to have it at your own basement. Proceed as follows:
1. Gathering Materials and Equipment For The Lane

When building a bowling lane in your basement, the materials and equipment you’ll need will depend on your chosen model. Generally, you’ll need the following materials:
- A level wooden board of sufficient length to accommodate the length of the lane.
- Skittles and pins.
- A bowling ball.
- A suitable ball ramp.
- Lane markers.
- Lane cleaners and oilers.
- Brushes and polishers.
- A scoreboard.
- PPE (eye protection)
- Sand Paper/Sanding tool
- Lighting LED
- Flooring (Carpet, rubber, etc.)
Most of these items can be found at your neighborhood stores, or if you prefer to shop online, you may check out Home Depot or Ace Hardware.
It’s important to get quality items that will last for the long term. You should also consider the environment in your basement and make sure the materials you choose are suitable for that environment. For example, if there’s a lot of moisture, you may opt for water-resistant materials.
2. Building a Support Frame For The Lane
The support frame is essential in constructing a bowling lane in your basement at home. It is the foundation of the entire lane and must be properly built to ensure lane durability and smoothness. To build a support frame, you will need a sturdy wooden board, sandpaper, and a sanding tool. Here are the steps:
-
Step 1: Setting up the board
Start by laying down the wooden board that will form the bowling lane. Use a leveling tool to ensure the board is level else you will end up with an inclined lane, and that’s not good for bowling. Measure the correct length of board that’s enough to accommodate the desired length of the lane.
-
Step 2: Smoothening the board
Once you have determined that the wooden board is of the correct length, use a sanding tool to even out the surface of the wooden board. This will ensure that the bowling lane is evenly distributed throughout the entire frame.
-
Step 3: Lane Framing:
Once the board is ready and set, next up, you need to frame up the lane. Using the wooden board, align it against a wall to create the frame for the lane. To ensure the frame is level and secure, use a leveler to check for any unevenness. Use screws to securely attach the wooden board to the wall.
-
Step 3: Adding skittles and pins
Once the board is in place, it’s time to add the skittles and pins. The pins should be lined up in a triangle formation at the end of the lane, and the skittles should be arranged in an equally spaced line along the center of the lane.
-
Step 3: Attachment of lane markers
Next, attach the lane markers to the wooden board. This is important to ensure that the lane is accurately marked and that the bowling ball is released in the correct position. Once the lane markers are in place, use a brush and polisher to ensure that the lane is smooth and that no dust or dirt enters the lane.
-
Step 4: Attachment of Bowling ball ramp
Finally, attach a suitable bowling ball ramp to the wooden board. This is important to ensure that the ball is released at an angle best suited to a bowler’s style and technique. The bowling ball ramp should be placed at the end of the lane, where the pins were arranged, and the lane markers should be placed a few inches away from the skittles line.
3. Setting up a scoreboard
After the lane is set up, it is time to set up the accessories. Brushes and polishers should be used to ensure the lane is clean and free from imperfections. A suitable scoreboard can be purchased or built using simple materials. It is also important to ensure that the players have proper protection during the game, so it is important to provide eye protection in the form of goggles or face shields.
4. The finishing touch
The whole bowling lane is all done and ready. To finish off what you started, you may want to smoothen the board with sandpaper or any other sanding tools at your disposal. You want the bowling lane to have that professional finish. To complete the look, the lane can be illuminated with LED lighting. A suitable flooring material such as carpet, rubber, or wood can be added to provide a comfortable playing surface.
Maintaining the Home Bowling Lane

Having successfully constructed the bowling lane, what’s left is to maintain the lane for durability and also to keep everything in a good shape. Here is what you need to do:
- Regular smoothening of the lane.
- You may use vanish to keep the surface of the board glossy.
- Ensure the skittles and pins are well set in position. The same goes for the lane markers
Conclusion
Building your own bowling lane in your basement can be a fun and rewarding project. Not only can it provide hours of entertainment for you and your friends, but it also adds value to your home when it comes time to sell. With careful planning, some hard work, and the right materials, you can have a custom-built bowling lane in your basement in no time. And don't forget to keep up on its maintenance for years of enjoyment! So why wait? Build your own bowling lane today, and get ready for some strikes and spares!


![How Much Do Professional Bowlers Make? [Avg Salary]](https://www.bowlingknowledge.com/wp-content/uploads/2023/02/How-Much-Do-Professional-Bowlers-Make-768x512.jpg)
![How Long Does a Game of Bowling Take? [Different Bowlers]](https://www.bowlingknowledge.com/wp-content/uploads/2023/03/How-Long-Does-A-Bowling-Game-Take-768x512.jpg)

